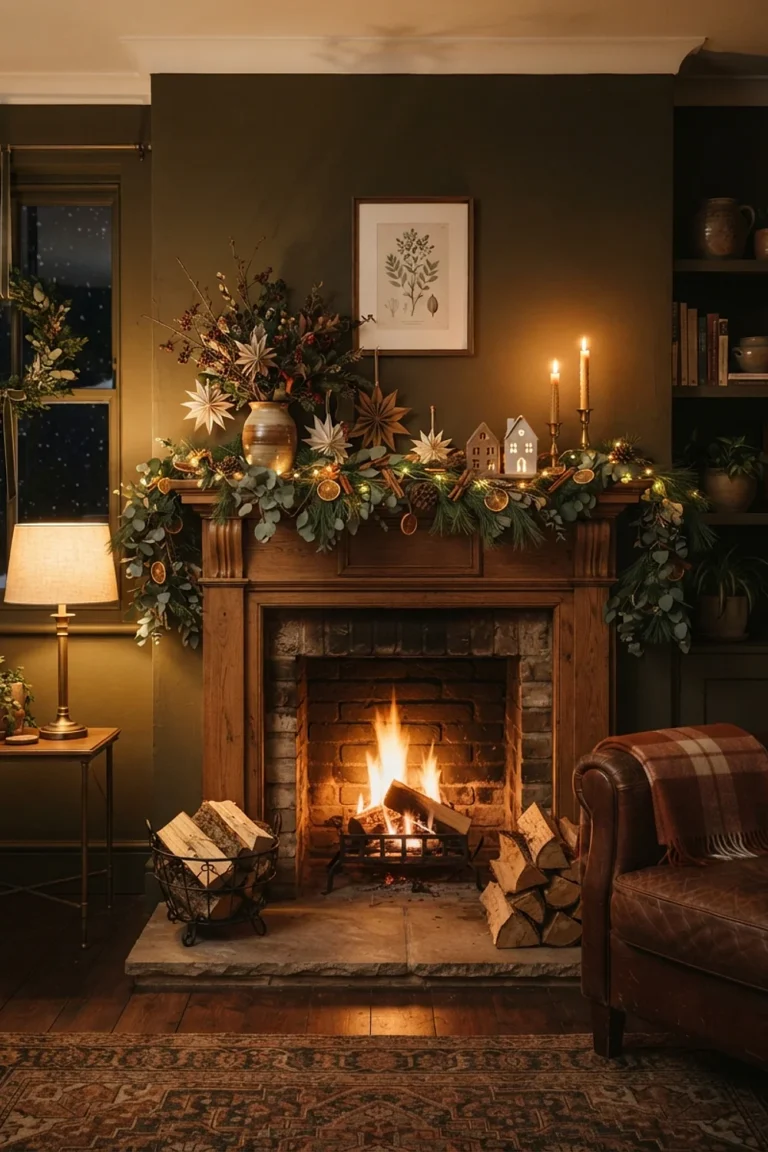
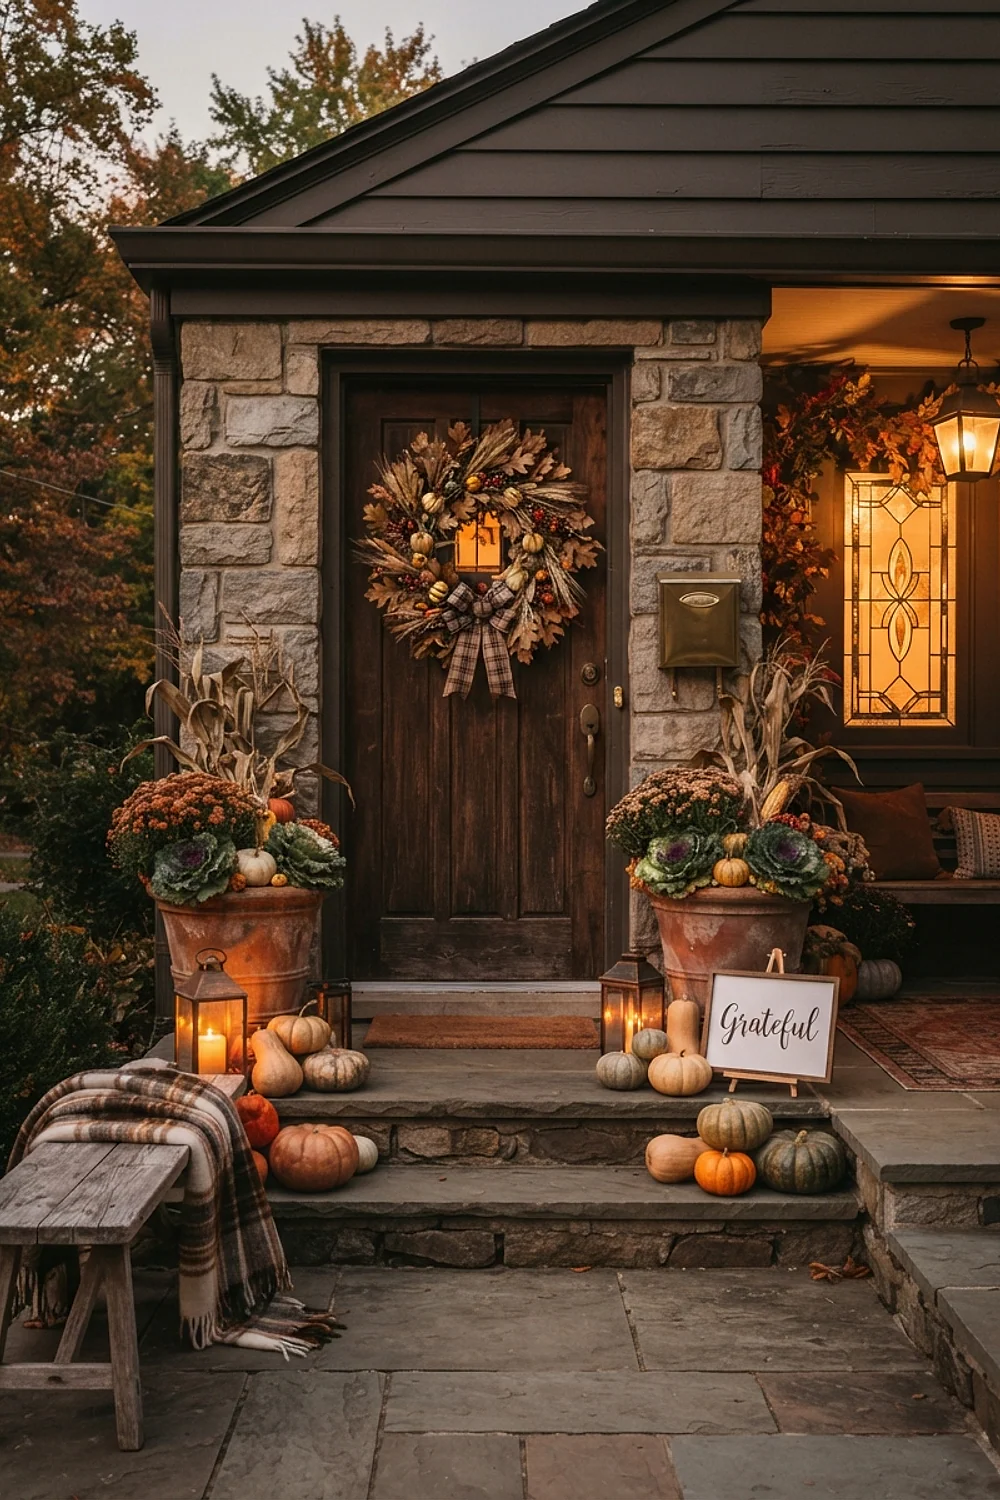
13 DIY Thanksgiving Decorations Outdoor That Look Expensive
Dry corn husks crackle like paper when a gust catches them on a porch, and that sound alone says late November. The right diy thanksgiving decorations outdoor can give you that crackle, plus the rust and gold color to go with it, for far less than a seasonal display costs at a big-box store.
Below are 13 ideas with real dimensions, materials, and the occasional price. They’re sorted from the front door outward, so you can stop wherever your energy runs out and still have something that looks finished.
Why diy thanksgiving decorations outdoor don’t have to break the bank
The cheapest outdoor decorating uses what farms already grow in October: corn stalks, pumpkins, gourds, straw, mums. These are sold by the bundle or the bushel, they look better than anything molded from foam, and a full porch can come in under $100.
Here’s a counterintuitive bit: an uncarved pumpkin can last 8 to 12 weeks in cool weather. Buying early at October prices isn’t a gamble, it’s the smart move.
Corn stalk bundles flanking the door
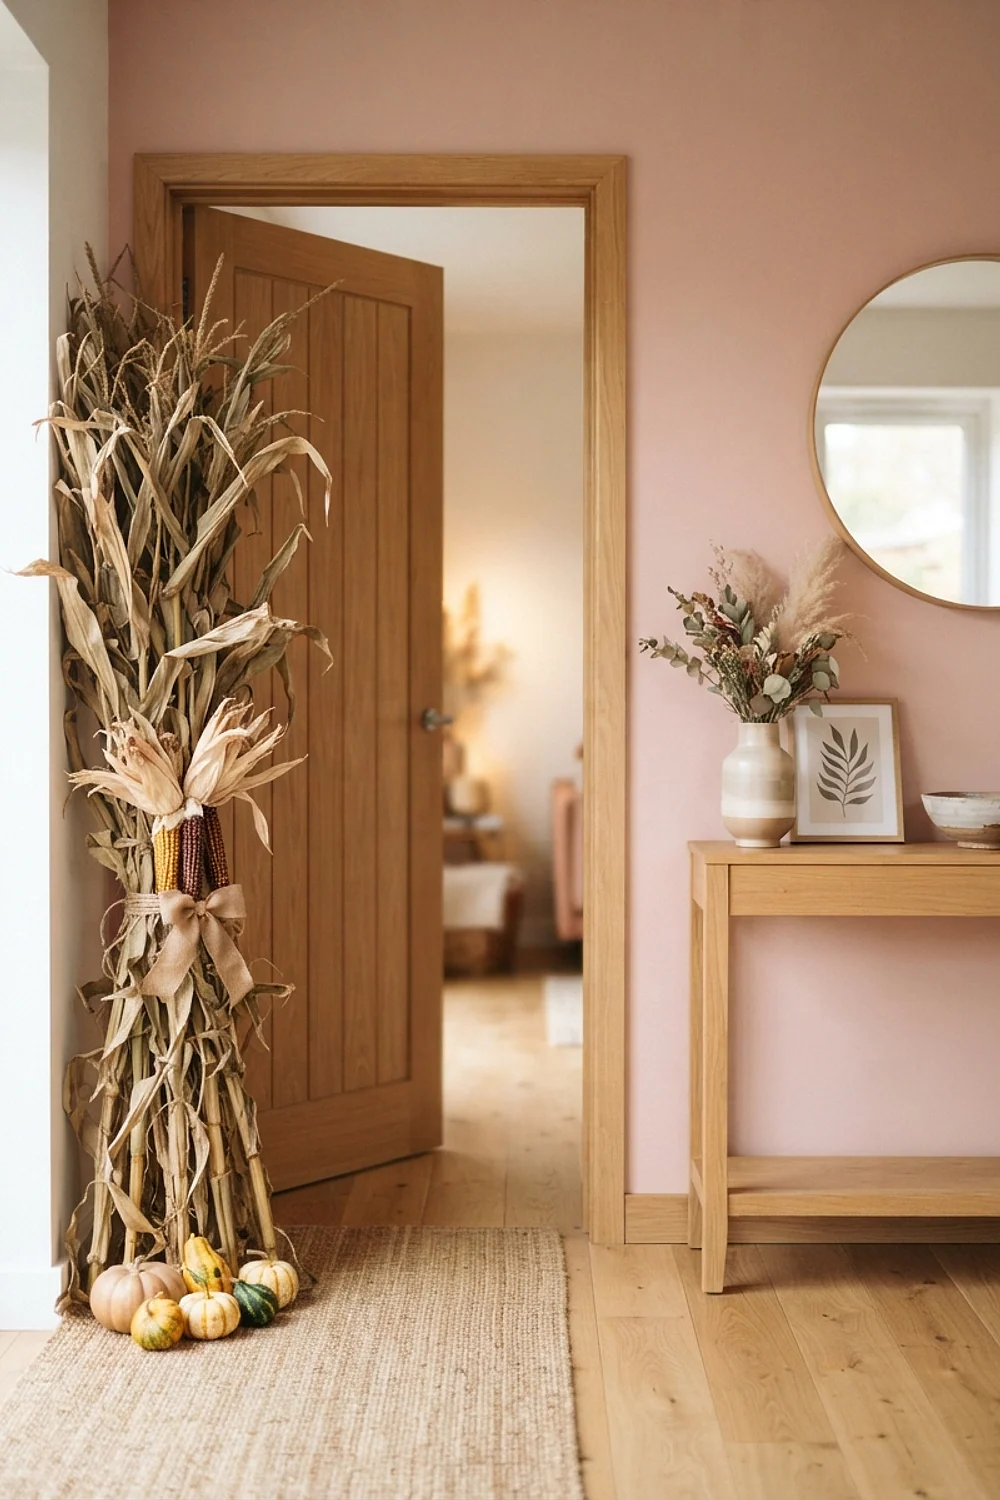
Corn stalks 6 to 7 feet tall, tied in bundles of five with jute twine, frame a front door the way columns would. Farm stands sell a bundle for roughly $4-8, which makes this the best return in the whole list.
Anchor each bundle to the door trim with two screw-in cup hooks and twine, because a freestanding bundle topples at the first gust. This suits narrow porches best, since each bundle needs only about 8 inches of floor. Skip it under a low 7-foot porch ceiling, where stalks bend and snap.
A three-size pumpkin cluster on the steps
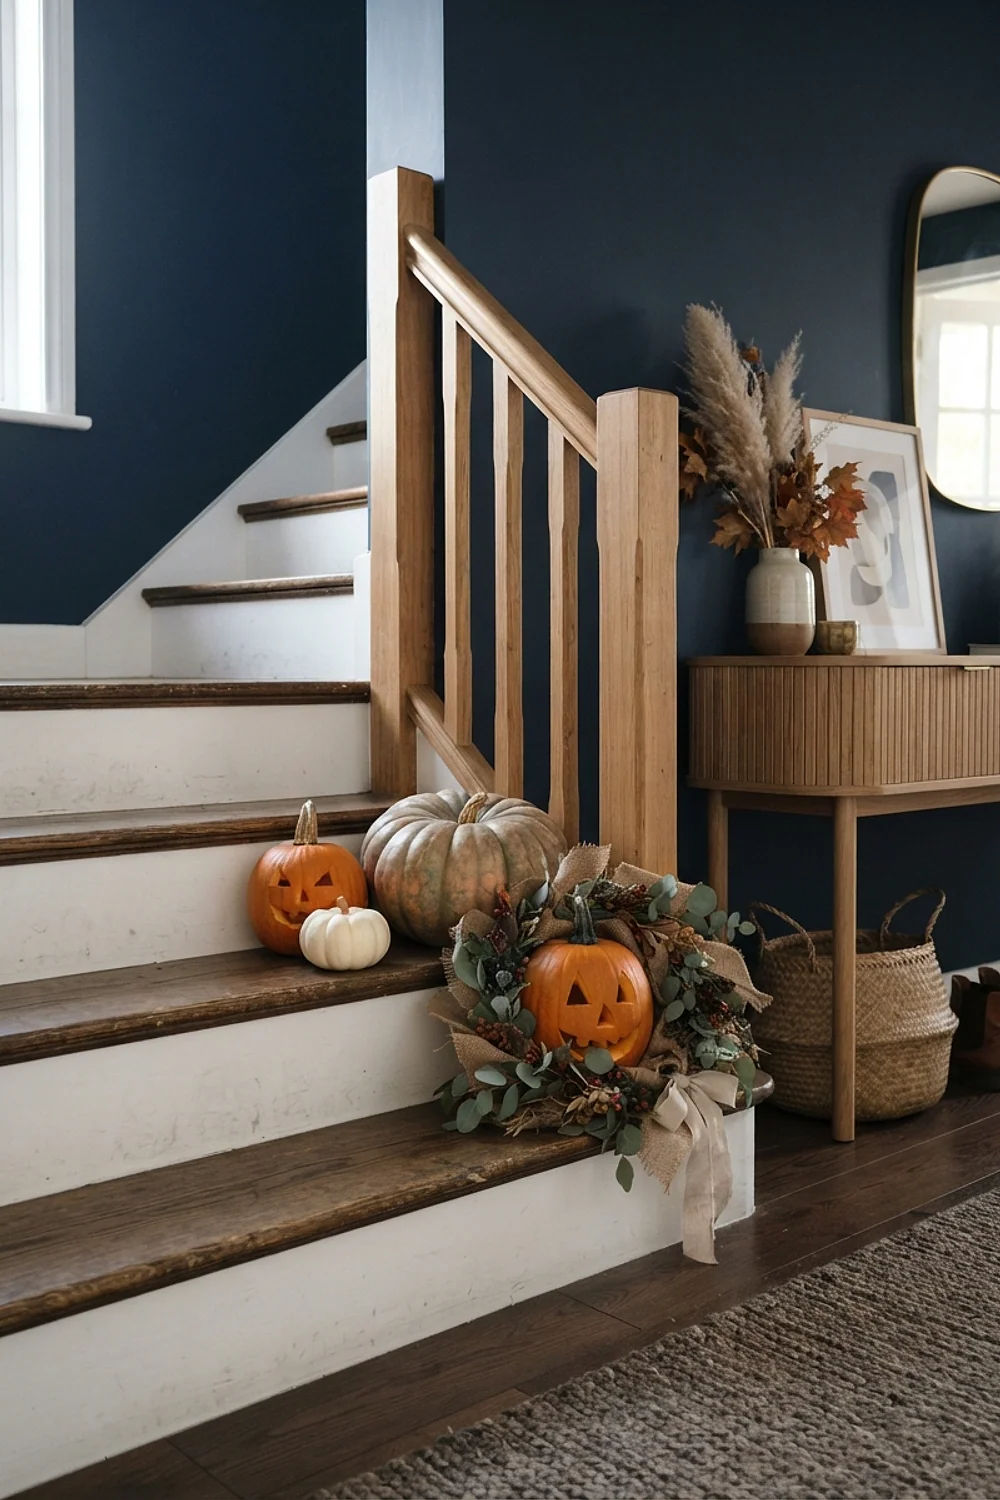
Pumpkins in sizes of roughly 6, 10, and 14 inches across read as intentional, while a lone pumpkin on a step reads like a decision abandoned halfway. Half-measures are tempting at 5pm on a Friday. Resist them.
The common mistake is lining pumpkins evenly across a step like cars in a lot. Stagger them, put the tallest at the corner, and tuck the smallest in front. Stoops under 36 inches wide should stick to two pumpkins and a gourd.
A straw bale seat with a plaid blanket
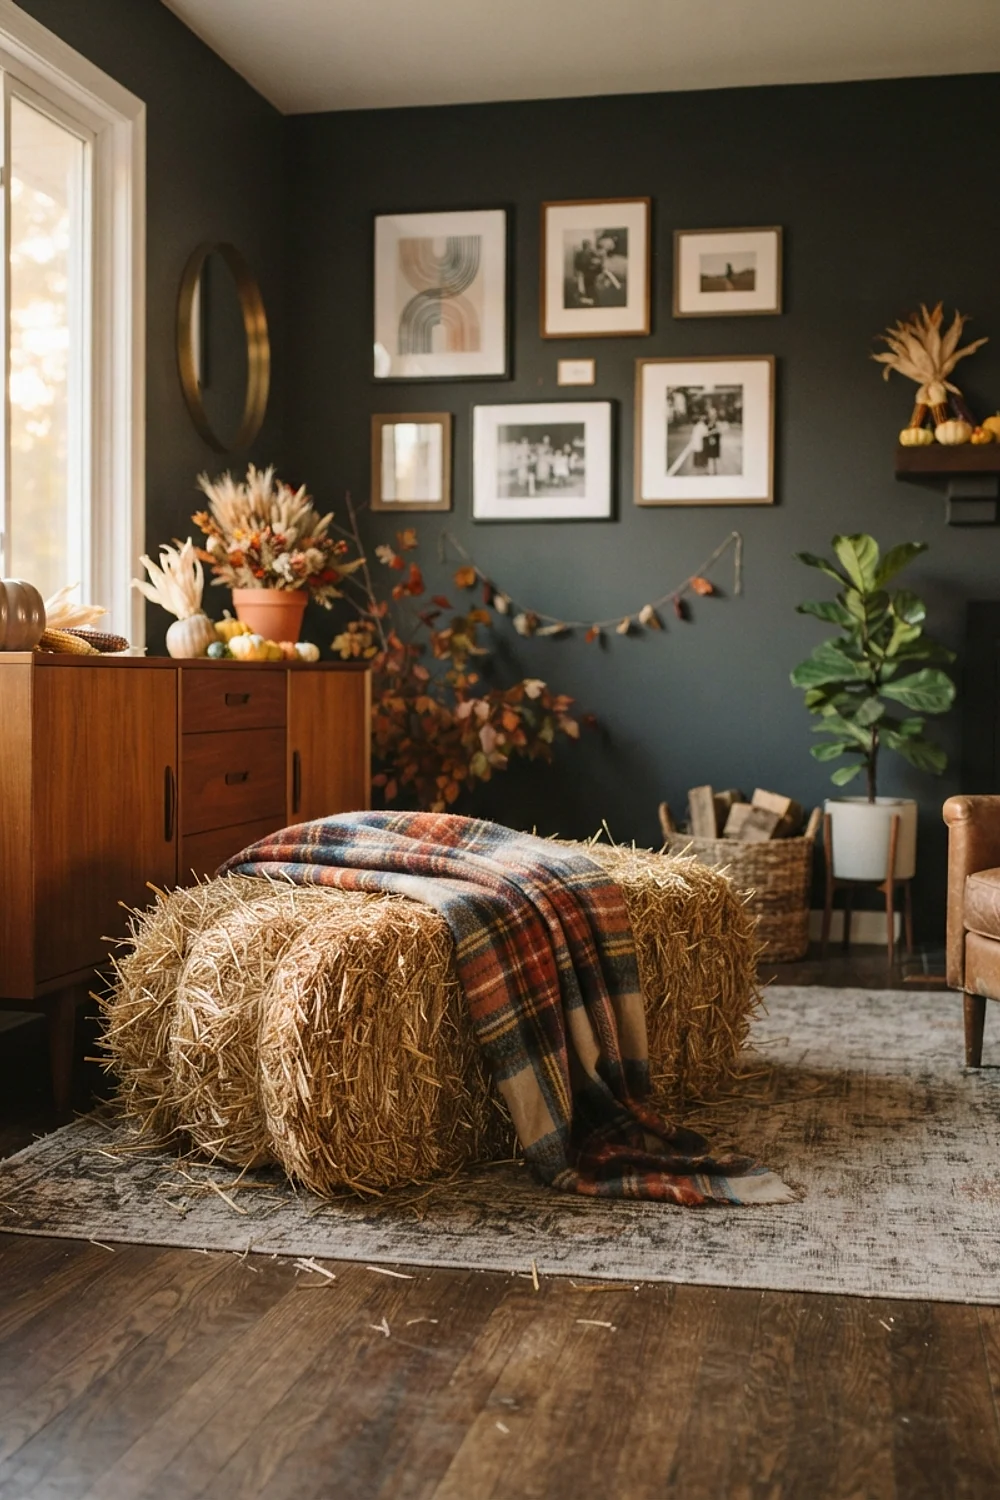
A standard straw bale measures about 14 by 18 by 36 inches, so on its edge it sits near chair height. Feed stores sell them for $7-12, and one bale gives a small yard a place for guests to perch.
Staple a plaid wool blanket or a length of burlap over the top, because bare straw pokes through thin fabric. Keep a tarp nearby, since wet straw starts molding within 3-4 days. This works best in a yard with room for a few people to gather.
Galvanized buckets of mums
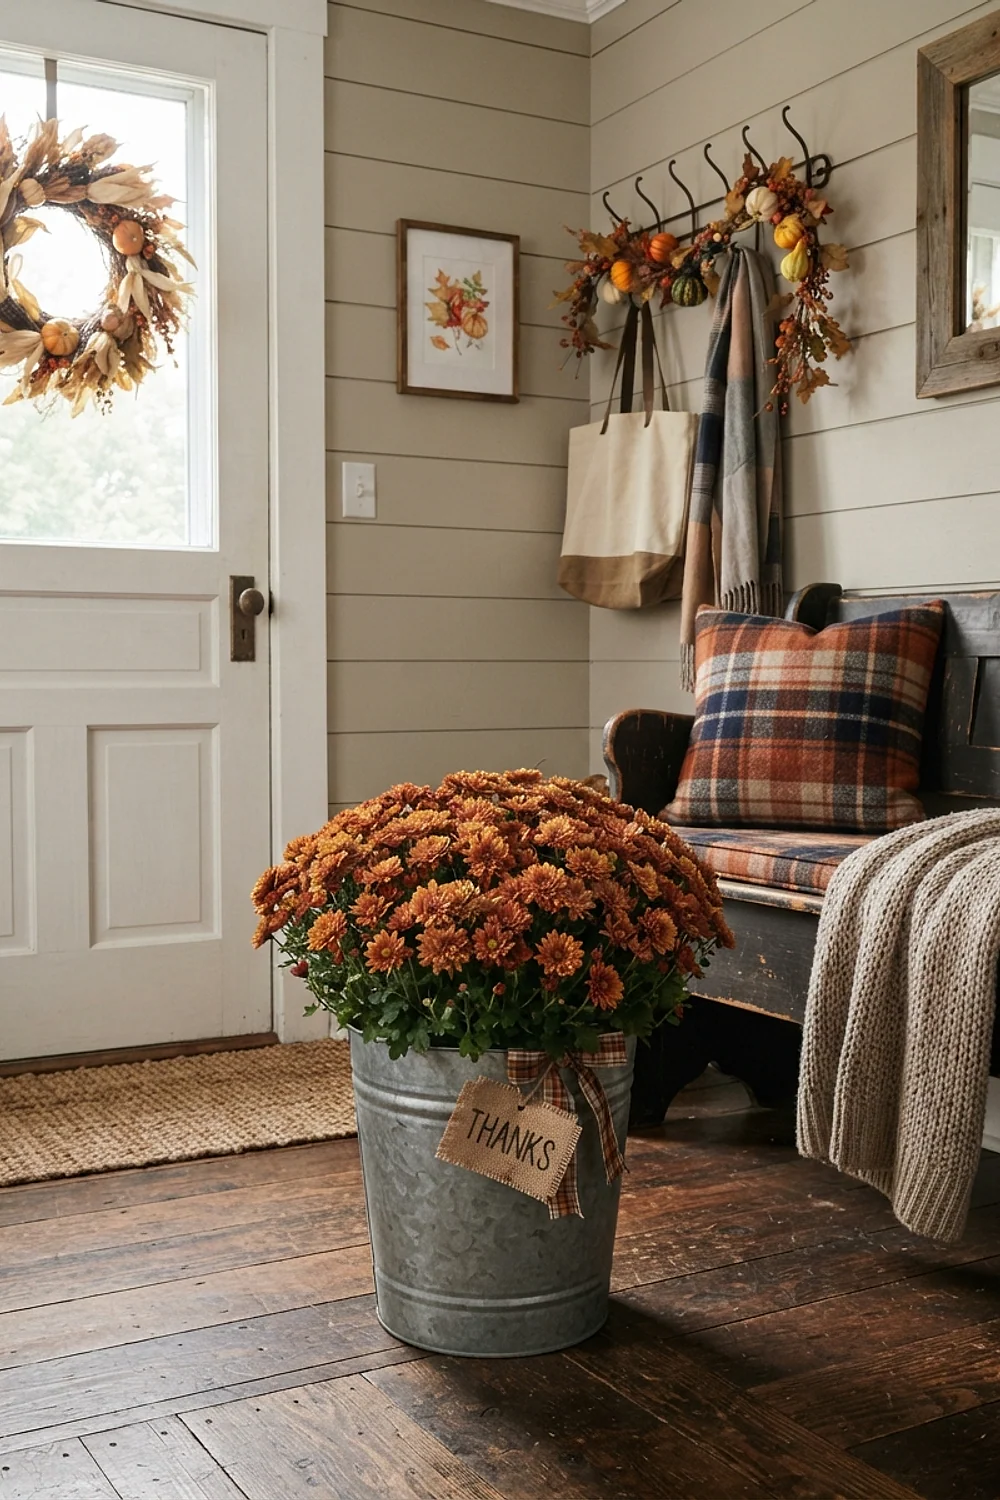
Thrifted galvanized buckets hold 8 to 10 inch pots of mums in rust, gold, and burgundy. Group three at different heights, using an upturned crate as a riser, so the colors stack up instead of spreading flat.
Drill four 1/4-inch holes in each bucket base first. Sealed buckets collect rainwater, and mum roots rot in standing water within a week. It’s a good fit for a bare porch corner that needs color without furniture.
A weatherproof grapevine wreath
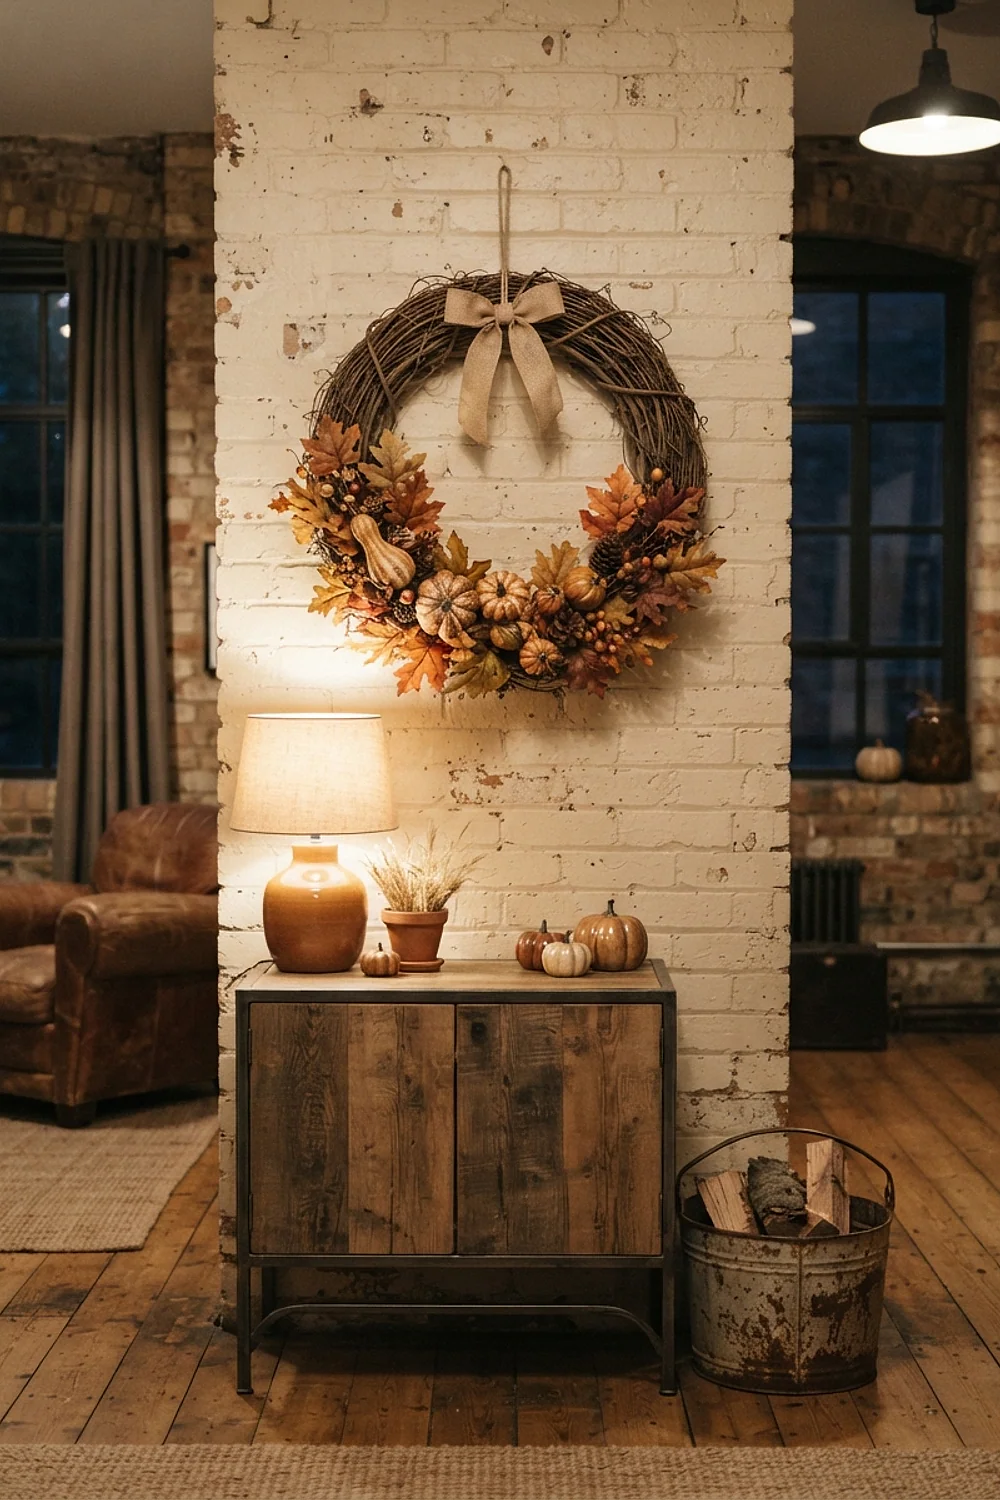
An 18-inch grapevine ring runs $5-9 at Hobby Lobby or Michaels, especially with an app coupon. Hot-glue faux leaves in rust and mustard, then spray two light coats of clear matte exterior sealer, waiting 20 minutes between coats.
Hang it from an over-the-door hook, not a nail, so rentals and painted doors stay unmarked. Choose polyester or wire-edged outdoor ribbon, because paper ribbon bleeds in the first rain.
Styling tips
Once the door is dressed, the rest of the yard is about height, finish, and light. These five ideas cover all three.
Gourds in matte metallic paint
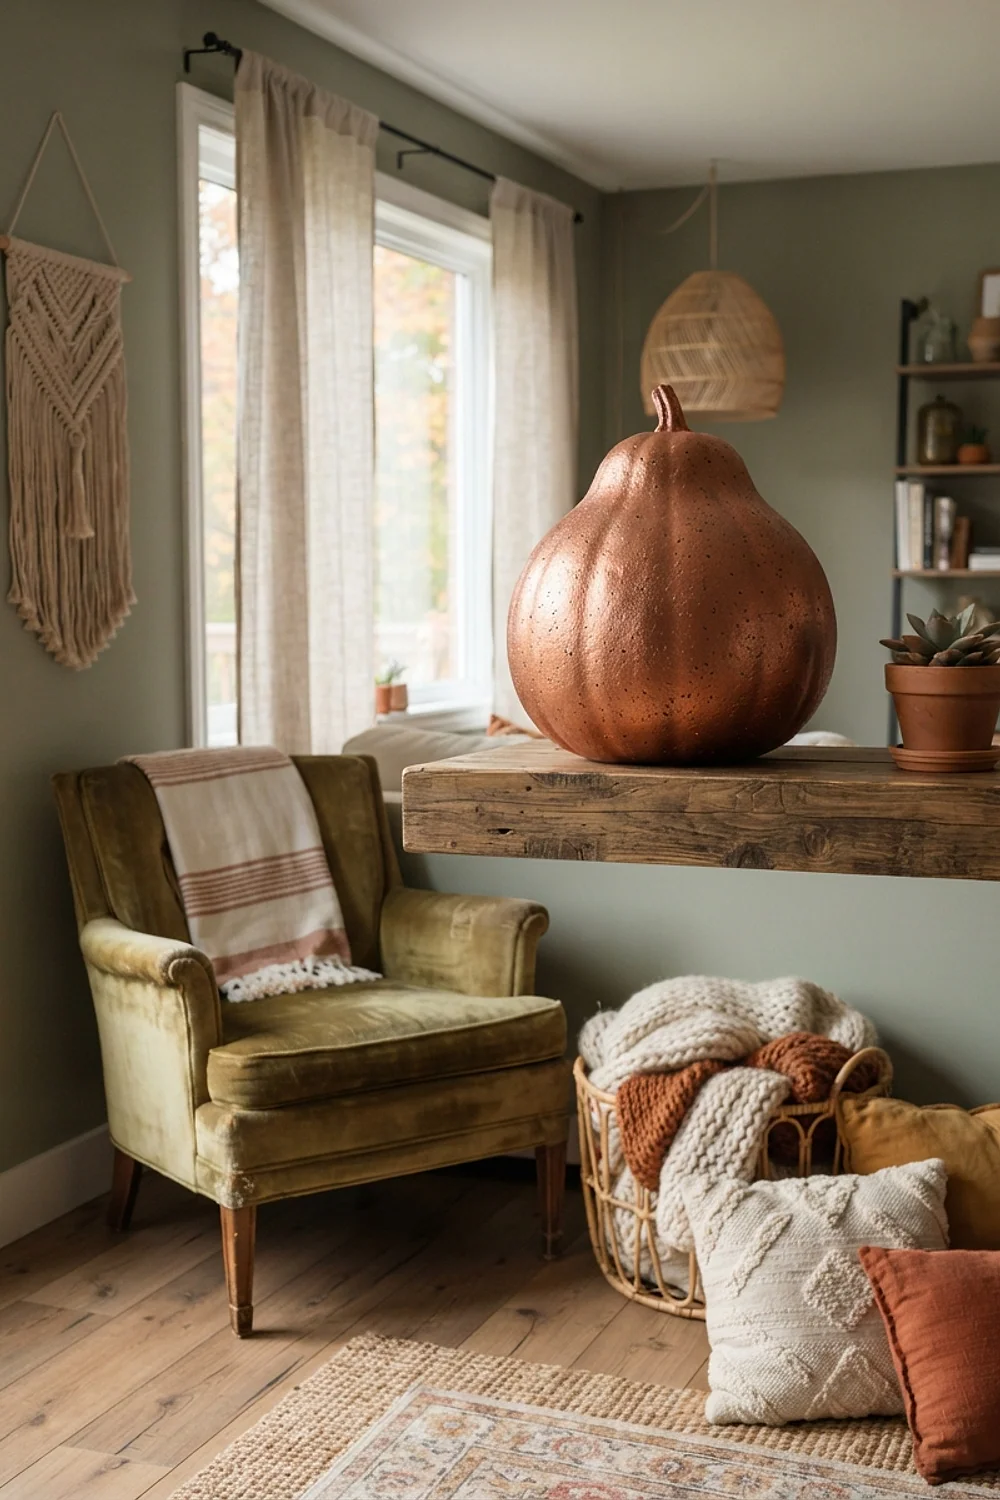
Dried gourds are hard enough to take spray paint, and matte copper or ivory looks rich where gloss looks like plastic. At 4pm, when low sun rakes across the porch, matte copper glows while glossy paint throws glare.
Paint on a dry afternoon and give each coat about 30 minutes to dry to the touch. Real gourds beat foam ones here, since foam cracks after a few freezing nights.
Stacked apple crates as a display
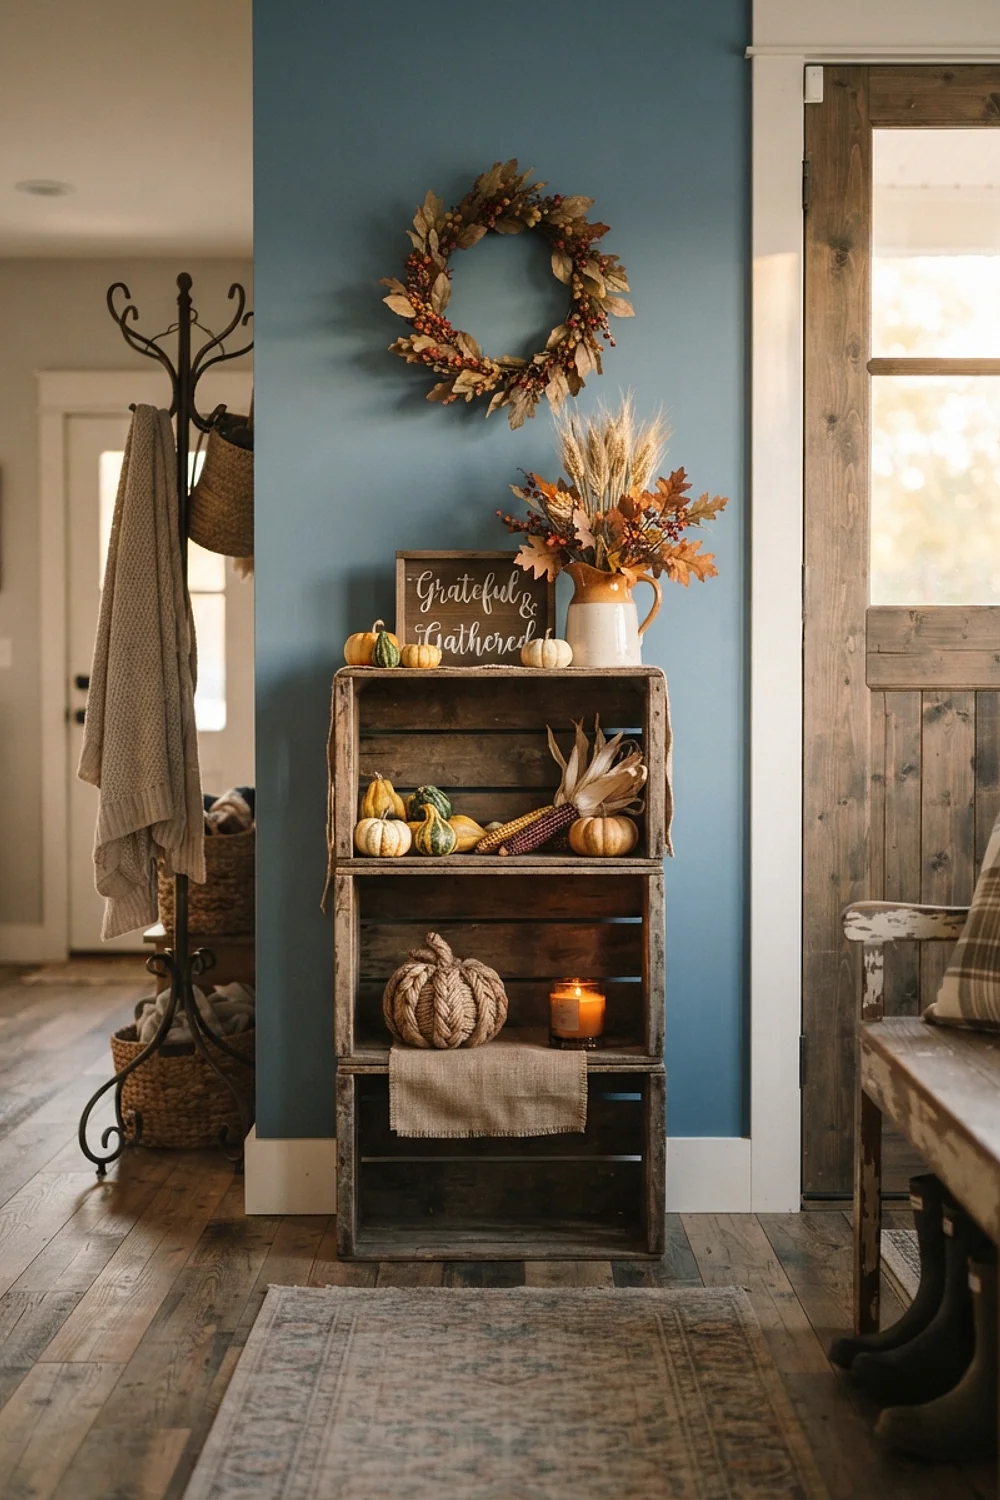
Thrifted wooden apple crates cost $3-6 each, and three of them stacked in a staggered pyramid hold pumpkins at three different heights. In November the same crates nest together and hold all the small decor, which makes storage a non-event.
Set them on pavers or bricks, since crates on wet concrete wick moisture and warp. This is the move for a porch with no furniture and nowhere to put anything.
Lantern clusters with warm bulbs
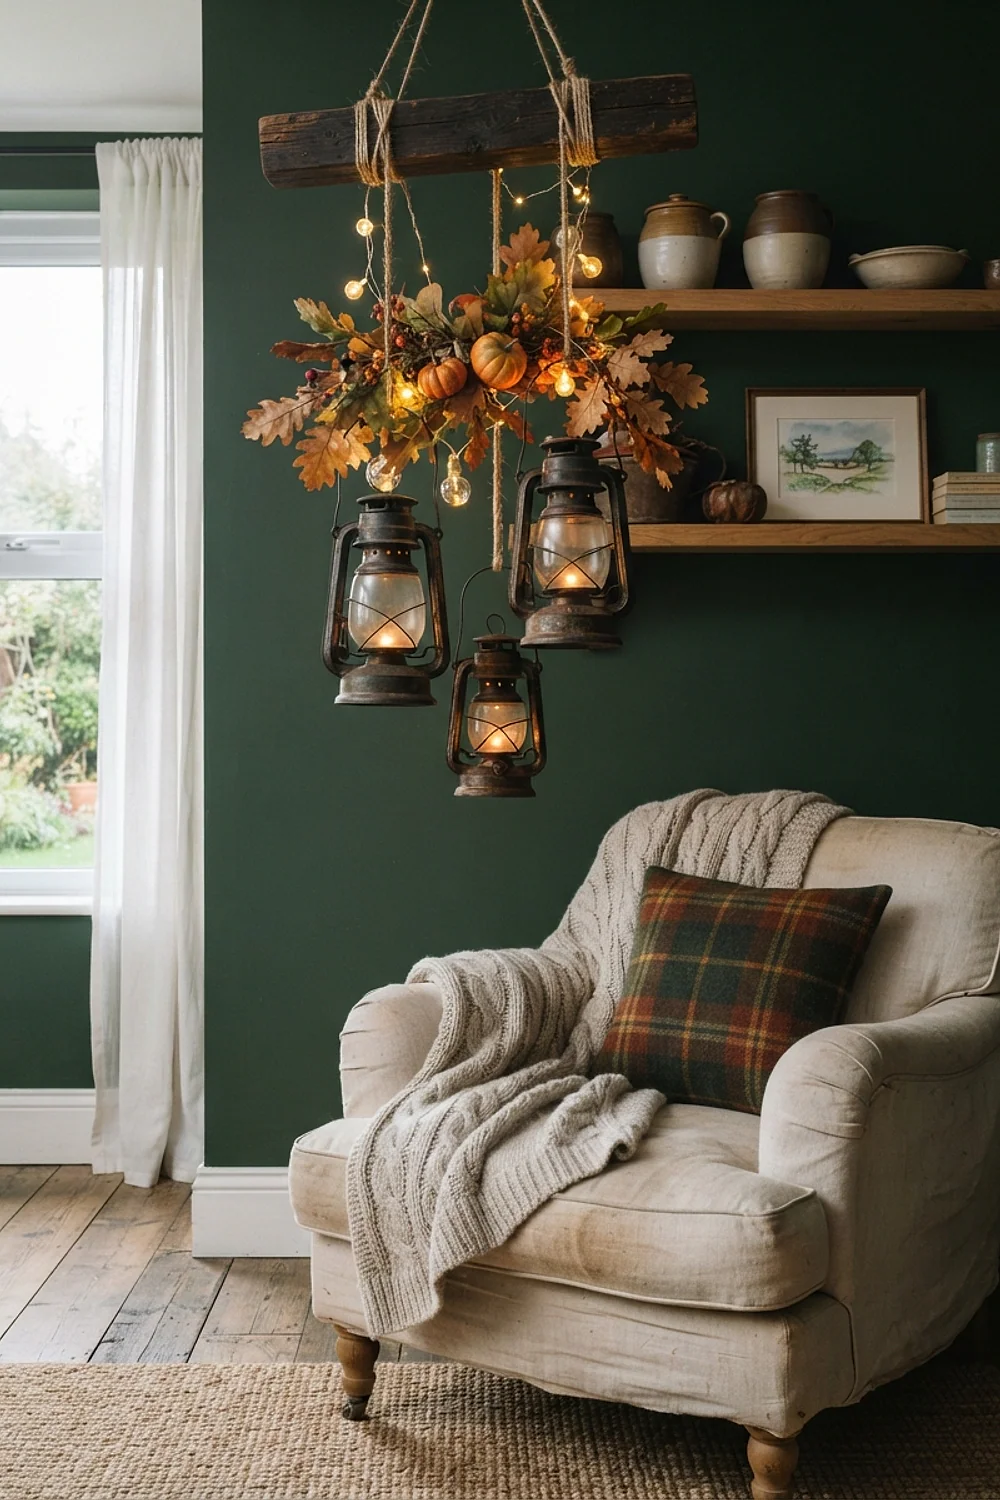
Three lanterns in different sizes, grouped on the top step, each holding a flameless LED candle on a timer (6 hours on, 18 off). Bulbs rated around 2700K match the color of real candlelight, while 5000K white looks like a hospital hallway.
Flame candles beside dry stalks and straw are a fire waiting to happen, so keep it electric. This suits anyone whose porch light is a single harsh bulb.
A three-color spray paint palette
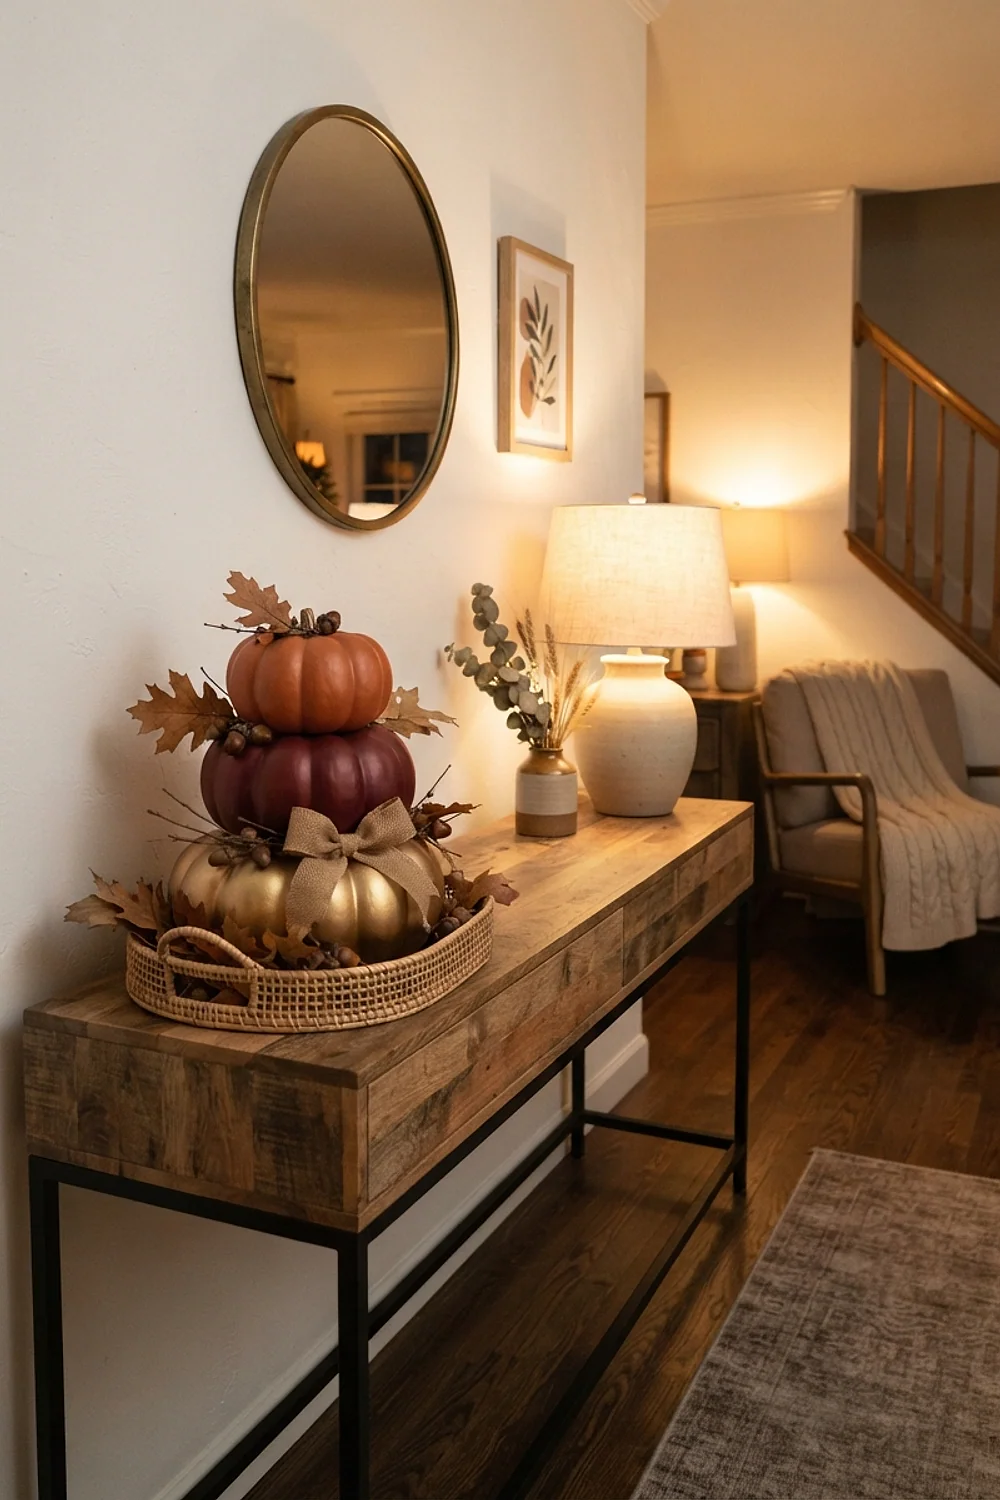
Mismatched thrift finds look like a set once they share a color. Spray terra cotta pots, baskets, and wooden crates in rust, mustard, and deep olive, at about $5-7 a can, and two cans cover a dozen small pots.
Use one color for roughly 60 percent of the pieces, a second for 30, and the third as an accent. More than three colors turns a porch into a craft fair table.
A tall urn with cut branches
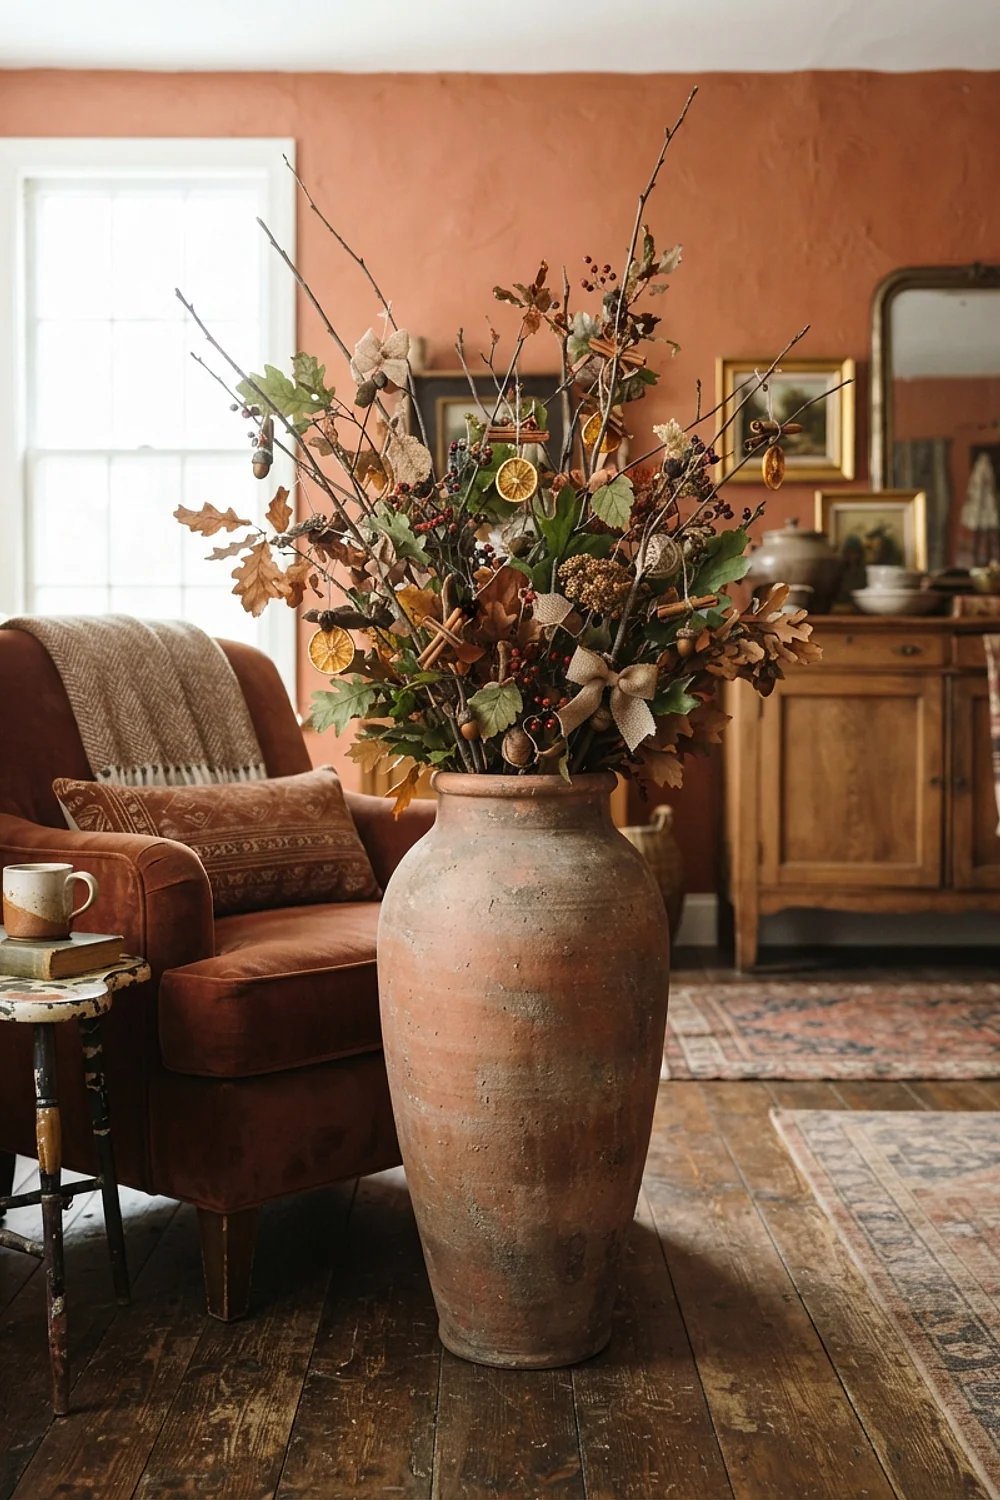
A front door gets read from the street, 30 or more feet away, and anything under 12 inches disappears at that distance. A 24 to 30 inch urn or galvanized planter filled with 4 to 5 foot branches of bittersweet or dried hydrangea fixes the problem.
Weigh down the base with about 10 pounds of gravel or sand so wind can’t tip it. It works especially well on wide porches where small pumpkins look lost.
The finishing touches
The last three ideas fill the gaps between the big pieces. They also take the least time.
Mini pumpkins lining the walkway
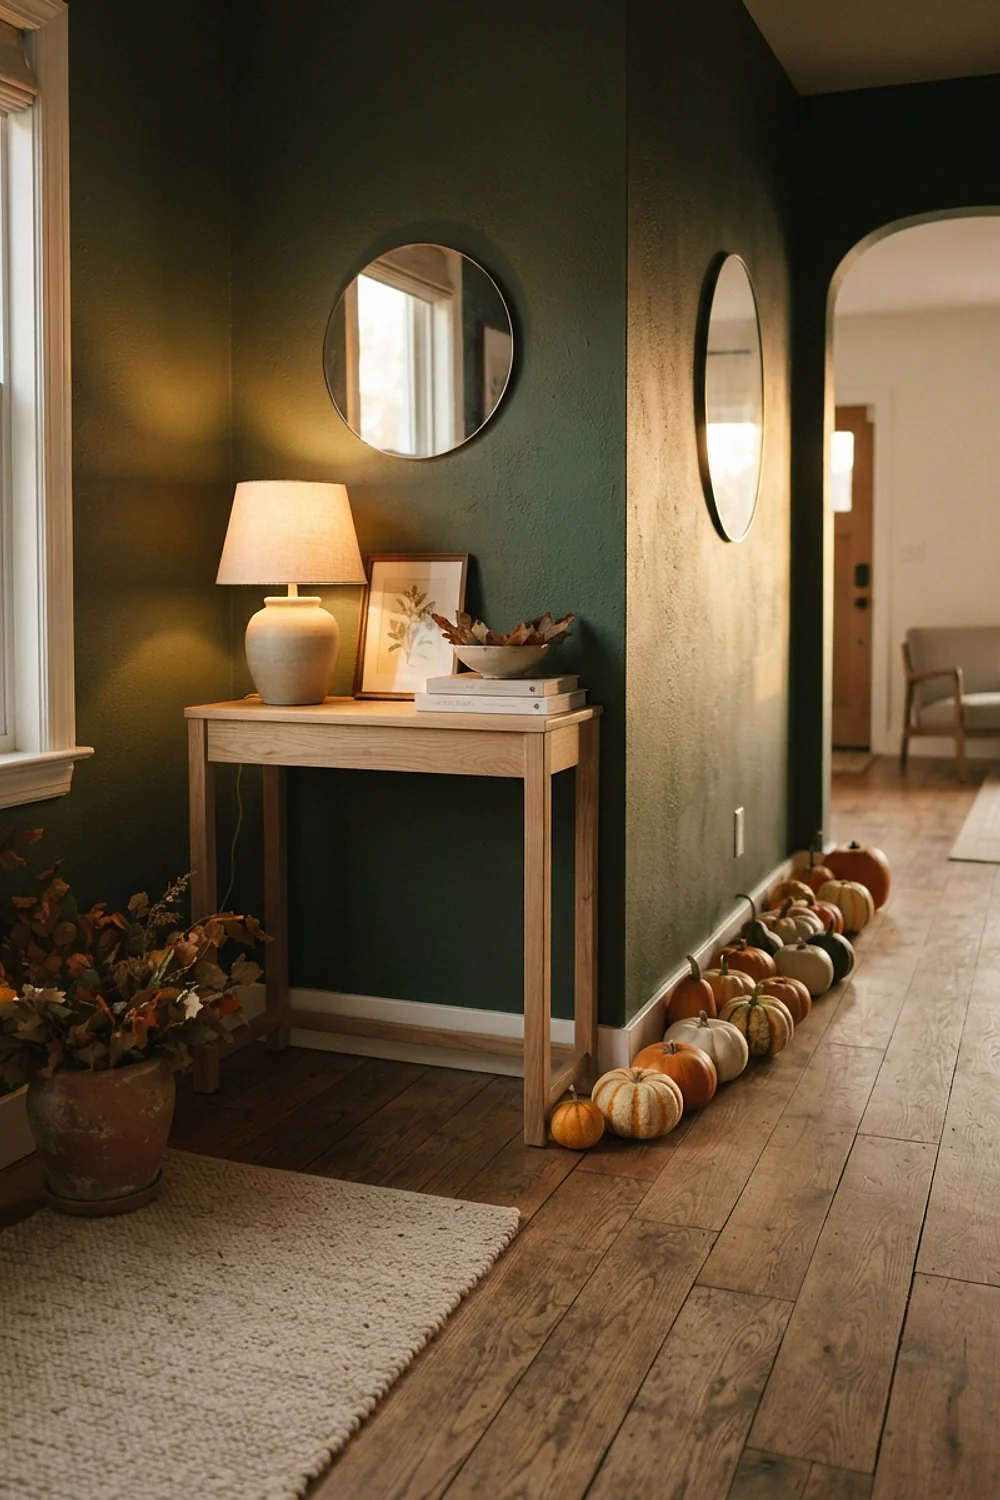
A dozen mini pumpkins, spaced about 3 feet apart and alternating sides, cost $10-15 and draw the eye from the sidewalk to the door. Spacing matters more than quantity, because crowding them turns the path into an obstacle course.
Keep each one about 6 inches back from the pavement edge so nobody kicks them in the dark. This suits straight walkways best, and curved ones need closer spacing.
Leaf garland wired to the railing
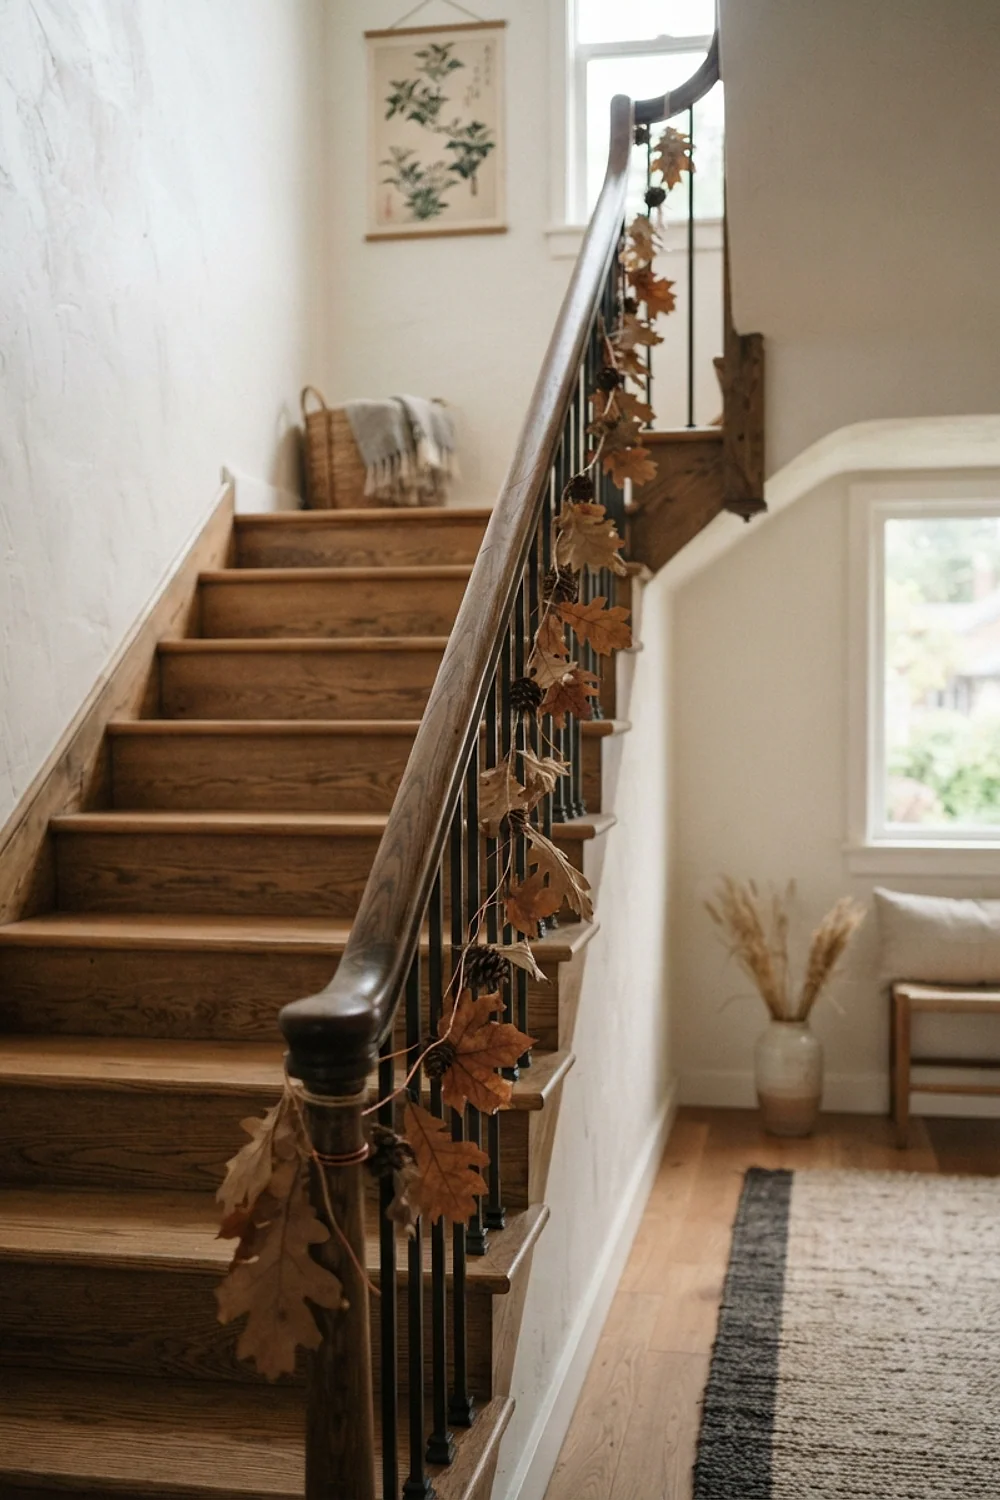
A 6-foot faux leaf garland looks lush wrapped along a porch railing, but tape and zip ties let go within a day of wind. Twist 22-gauge green floral wire around the railing and garland every 12 inches instead. Wind wins every argument with tape, while wire holds at fixed points.
Wire also lifts off cleanly in December, which matters on painted wood or rental railings. Tuck cut ends inward, since sharp tips snag sleeves, and keep twists snug, not crushing, on soft paint.
A rocking chair with a wool throw
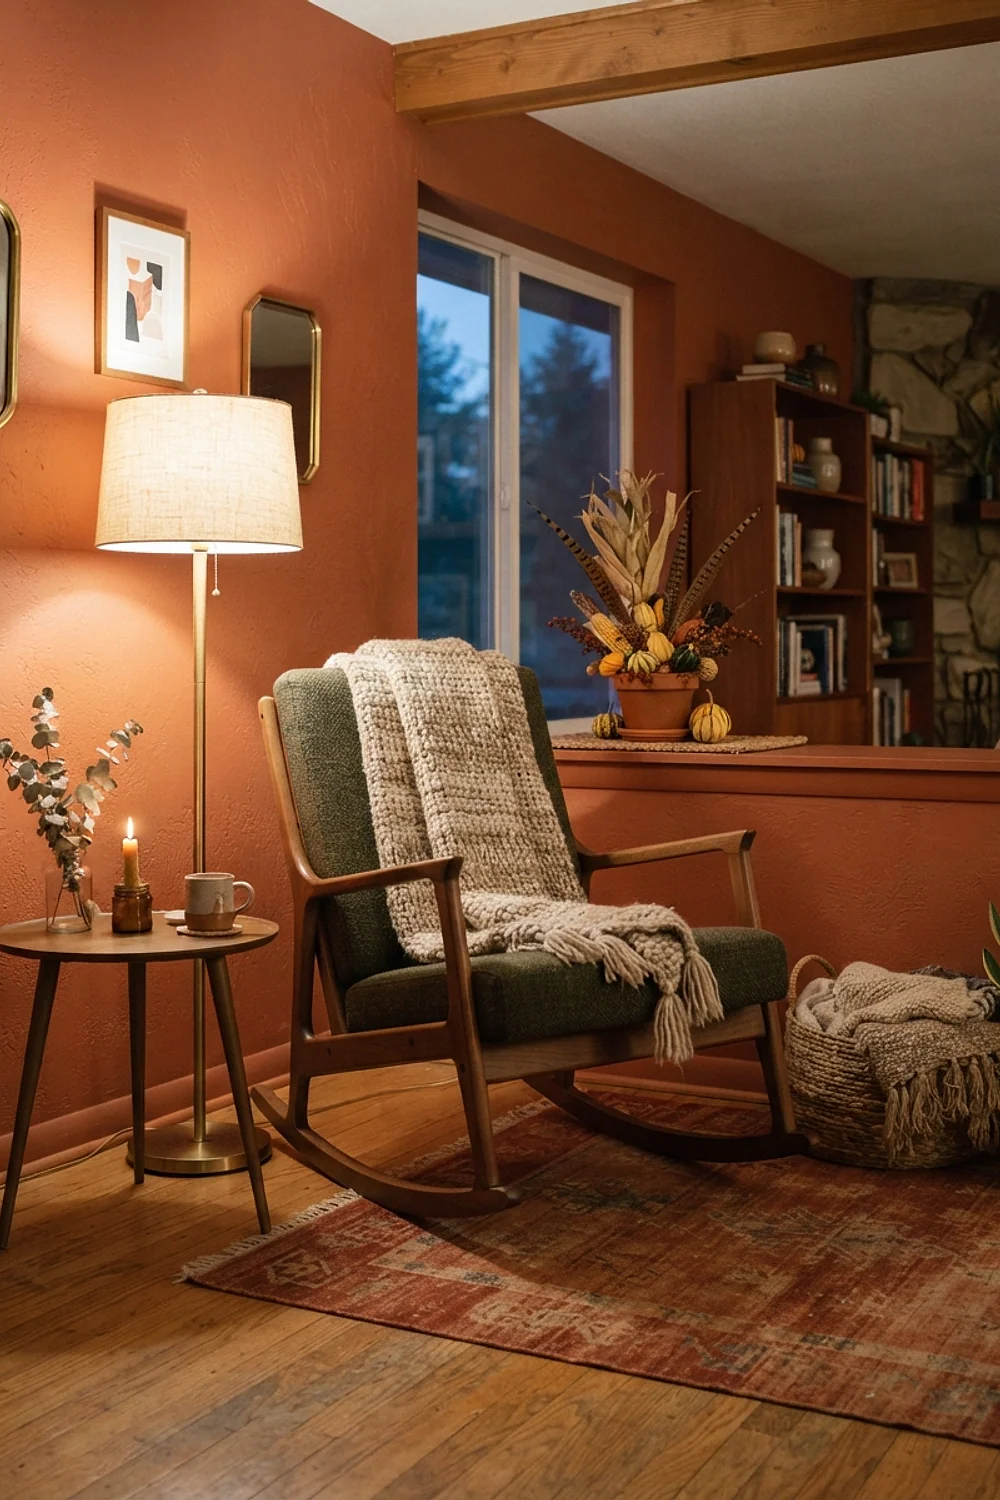
A chair with a thrifted wool throw ($6-12) and a 20-inch cushion in water-resistant fabric gives guests a reason to linger. A chair that looks used is more welcoming than any pumpkin, and a draped throw hints at warmth on a cool evening. It suits small porches and tight budgets, since one seat does the work of a whole display.
Bring the throw inside nightly, because dew soaks cotton and wool by morning. Damp wool also turns musty fast. No chair? The straw bale from idea 3 does the same job.
What to buy first
Sourcing diy thanksgiving decorations outdoor is half treasure hunt, half calendar. Timing beats coupon-clipping, so shop in this order:
- Farm stands and feed stores for corn stalks, straw, gourds, and pumpkins sold by the bundle.
- Thrift stores in September and October for crates, buckets, lanterns, and throws.
- Facebook Marketplace for urns and planters that people list when they redecorate.
- The day after Halloween for hobby store clearance on leaves, ribbon, and wreath forms, often half price or lower.
Look, impulse buys are the budget killer. Walk in with the measurements of your porch and a list of three colors, and the clearance aisle stops being a trap.
DIY vs store-bought: honest comparison
Diy thanksgiving decorations outdoor win on cost and fit, and they lose on convenience. A pre-made 6-foot fall garland runs $40-60, versus about $15 in leaves and wire.
- Splurge on: outdoor-rated ribbon, a sturdy urn, and weatherproof LED candles. These get reused for years.
- DIY it: wreaths, garlands, and painted pots. Store versions rarely match your door color anyway.
- Skip entirely: inflatable yard figures and foam pumpkins. They look dated and crack in the cold.
Store-bought is the right call when time is short and the weather is turning. Otherwise, DIY pieces last longer and look less like everyone else’s porch.
Notes from real rooms
Mind the late-October cold snap. During a hard frost, bring mums inside overnight and cover pumpkin clusters with an old sheet, because frozen mums collapse and frost-nipped pumpkins soften within days.
Plan for the busy weekend. This is the move for a Saturday with only a 90-minute window: do the door, steps, and lanterns, and call the yard finished. A done front entry beats a half-decorated everything.
Swap the pricey garland. Skip store-bought fall garland and use stems cut from the yard or bought at a thrift store, wired together. Nobody can tell from the street.
Plan the day after. After the holiday, corn stalks become garden mulch, pumpkins go on the compost pile, and the crates, lanterns, and urn carry over to winter greenery.
A two-weekend schedule so nothing drags
Spread across two weekends, the whole list stays manageable. Finish each stage before starting the next.
- Weekend one, Saturday morning: buy stalks, pumpkins, straw, and mums from a farm stand.
- Weekend one, Saturday afternoon: spray paint pots and gourds, and let them dry overnight.
- Weekend one, Sunday: build the entry with stalks, wreath, crates, and cluster.
- Weekend two, Saturday: add lanterns, urn, and walkway pumpkins.
- Weekend two, Sunday: wire the railing garland and set out the chair and throw.
Wrapping up the porch
Diy thanksgiving decorations outdoor come together fastest when the big shapes go in first and the small details follow. Work from the door outward and stop when the pieces start to feel crowded.
Save or pin this list so it’s handy when pumpkin season hits, and start with the corn stalk bundles after measuring your door frame width.
Frequently Asked Questions
How long do diy thanksgiving decorations outdoor last in rain and wind?
Most natural pieces hold up for 4 to 8 weeks if kept off wet concrete and anchored against gusts. Sealed wreaths and wired garlands survive the whole season, while straw and paper ribbon need cover during storms.
Can I put pumpkins out in early October without them rotting?
Yes, if they’re uncarved and the nights stay cool. Stems should be intact, and the pumpkins should sit on pavers or crates rather than damp ground. Warm spells above 75 degrees speed up softening.
Do these ideas work for an apartment balcony or rental?
Most diy thanksgiving decorations outdoor scale down well. Use over-the-door hooks, wire instead of nails, and a few lanterns and mums in buckets. Skip the straw bale unless the balcony is large.
How do I keep squirrels from eating the pumpkins?
Dust the surface with cayenne pepper and reapply after rain. Setting pumpkins on a raised crate also helps, since squirrels prefer ground-level snacks.